Showing posts with label eat. Show all posts

Friday, May 29, 2020

Vanilla Apple Popsicle Recipe


These healthy popsicles are addictive! And they're so easy to make at home - just 2 ingredients (plus the popsicle mold that you just made, right?). Of course, if you already have a store-bought popsicle mold, that would work too.

These popsicles have creaminess from the yogurt, tartness from the applesauce, and a touch of sweetness throughout. Delicious, refreshing, and so cold!

If you make these the fast way, the layers blend a bit and you get wavy lines between them. If you wanted straighter lines between the layers, let each layer freeze a little bit before adding the next (but obviously this takes more time and planning). My philosophy - even a messy popsicle is a tasty popsicle, and faster making means sooner eating!


Ingredients:
  • Vanilla greek yogurt
  • Applesauce
Instructions:
  1. Fill bottom layer (1-1.5 inches) of the popsicle mold with vanilla yogurt.
  2. Fill next layer (1-1.5 inches) with applesauce.
  3. Gently place top layer of yogurt on top.
  4. Cover top of popsicle mold with cap and insert the popsicle sticks. If you're using my homemade mold, then the cap is the aluminum foil covering.
  5. Freeze 4-5 hours until firm.
  6. Remove and eat!

Popsicle Mold - Make Your Own!


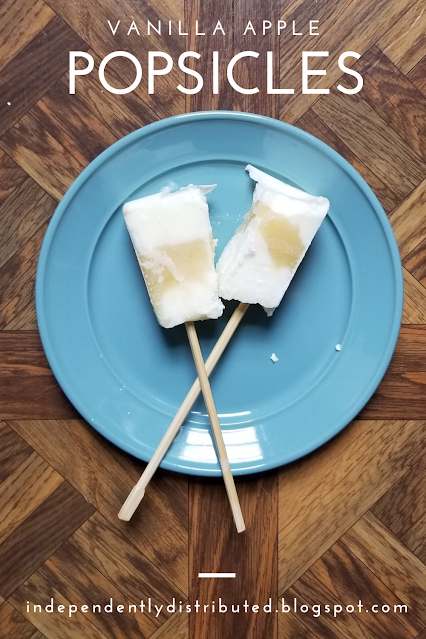
As the weather heats up, those popsicle recipes on Pinterest are looking more and more irresistable.... I'm a huge fan of fruit and/or yogurt popsicles, with no need for added sugar! Sometimes you can even blend in some hidden veggies for extra texture.

I don't have a popsicle mold at home though. Instead of rushing out to buy one, which costs money and means you have to wait for shipping, I made my own out of a used spice container. It took just 5 minutes to make, used materials I had lying around the house, and works great!

I used a Costco big spice jar (e.g. for red pepper flakes, black pepper) for my mold that makes 4 popsicles at a time. You don't have to use the same one - almost any plastic one will work, but obviously the shape of the popsicles will be different. Just pick a plastic jar that is the same width all the way around (otherwise, if there's a wider section at the bottom of the mold, your popsicles will get stuck in that wide section and you would be able to pull them out after freezing).


Materials needed:
  • Empty spice container
  • Popsicle sticks or disposable chopsticks
  • Aluminum foil
  • Knife
Steps:
  1. Cut the top off the spice container along the dotted line shown. We want it to be the same width all the way around.
  2. Cover the top of the cut-off container with aluminum foil.
  3. Poke 4 holes in the aluminum foil as shown, roughly equally spaced so that each hole is in the middle of a quadrant. If you have a knife, this can help you poke through the foil before you stick your popsicle sticks or chopsticks through.
  4. Fill mold with your popsicle filling of choice. Insert one popsicle stick or chopstick through each of your four holes. Freeze until firm.
  5. Once frozen, run the sides of the mold under warm water to melt the side slightly and loosen the popsicle from the mold. Pull out the popsicles from the mold, and cut the large block into quarters. Eat!
You can adjust the size of your popsicles by putting more or less filling in the mold (so that it goes higher or less high up the sides). I wouldn't recommend trying to fit more than 4 in the mold at a time, because the thickness is what helps keep the frozen popsicle together without cracking.

Leave a comment or pin this on Pinterest if you try it!

Popsicle recipes to try with your new popsicle mold:
- Vanilla apple popsicles (pictured in the mold-making instructions)
- More coming soon (I'll update this page as I add more)


Sunday, January 7, 2018

Healthy Avocado Smoothie

My sister introduced me to Asian avocado smoothies at a bubble tea place and I love them! Unfortunately, the bubble tea version is made with condensed milk and other unhealthy sugars, so I experimented a bit to create a modified, healthier version to make at home. I'm really happy with the result, and (bonus) they're super easy to make, too!

Just 3 ingredients:
- 1 whole banana
- 1 avocado
- 1-2 cups unsweetened coconut milk


Instructions:
Peel and chop 1 banana into 1" chunks and freeze overnight in ziploc bag. The next day, blend with 1 avocado and unsweetened coconut milk (8-16 oz depending on how thick you want and on the brand of coconut milk -- I try putting in less, then adding liquid as needed). Enjoy!


The banana gives just a hint of sweetness. Having it frozen adds creaminess and a bit or crunch/chill without having to add ice, so no worry about drinking it fast so it doesn't melt and dilute the drink. I hope you enjoy these as much as I do!